Maintaining the appearance and longevity of commercial tile floors is crucial for businesses that value cleanliness and wish to make a positive impression on their clientele. Stripping and waxing floors is not just about the shine—it’s also an investment in protecting your floors against traffic wear, spills, and stains, ensuring they represent your business’s standards well.
With professional floor care services, you can revitalize your commercial flooring and extend its life, saving on costly repairs or replacements down the line.
This step-by-step guide will walk you through the best practices and techniques, whether you’re tackling the job yourself or looking to better understand the process when hiring professionals.
Let’s get started.
Preparing the Area
Before diving in, clear the stage for your tile transformation. Rip up those dirty mats, haul out the heavy furniture, and stash away any stragglers blocking your path. You’ve got to see every inch of that stage to pull off a seamless show.
Secure the Perimeter
Next up, shield the sidelines. String up some caution tape and plant those “wet floor” signs like you’re marking your own VIP area. And don’t let those wandering footsteps muck up your masterpiece—seal off the entrances with mats that say, “keep out.” Got walls, fixtures, or any innocent bystanders nearby? Tuck them safely behind a plastic sheet or a tarp; those cleaning chemicals have a wild side.
Start with a Clean Slate
Now, for a clean start, you’re going to sweep your troubles away with a dust mop. Chase down every bit of grime—it’s no match for you. Oh, and should you encounter any gum-bound rebels, that putty knife of yours will negotiate their release.
Mix Your Solutions
Before you bring out the big guns, mix your floor-stripping solutions with a touch of H2O, respecting the wisdom of the bottle’s label. The right mix makes all the difference. And cleanliness is next to godliness, they say, so keep those mops and buckets pure—that way, you’re not smearing today’s mess into tomorrow’s shine.
Gear Up for Safety
Lastly, suit up! Non-slip shoes are your steady companions, gloves and goggles are your loyal protectors, and a mask keeps those chemical fumes in check. Remember, you’re in this for the long game—a no-slip, no-trip policy ensures you and your floors come out winners.
Divide and Conquer
Tackling the whole arena at once? That’s rookie stuff. You’re going to break it down into headlining acts, taking on one manageable section at a time. Because it’s not just about getting the job done—it’s about making it a performance to remember.
These structured sub headers will guide readers smoothly through the process, maintaining the thematic narrative and making the information more accessible and enjoyable.
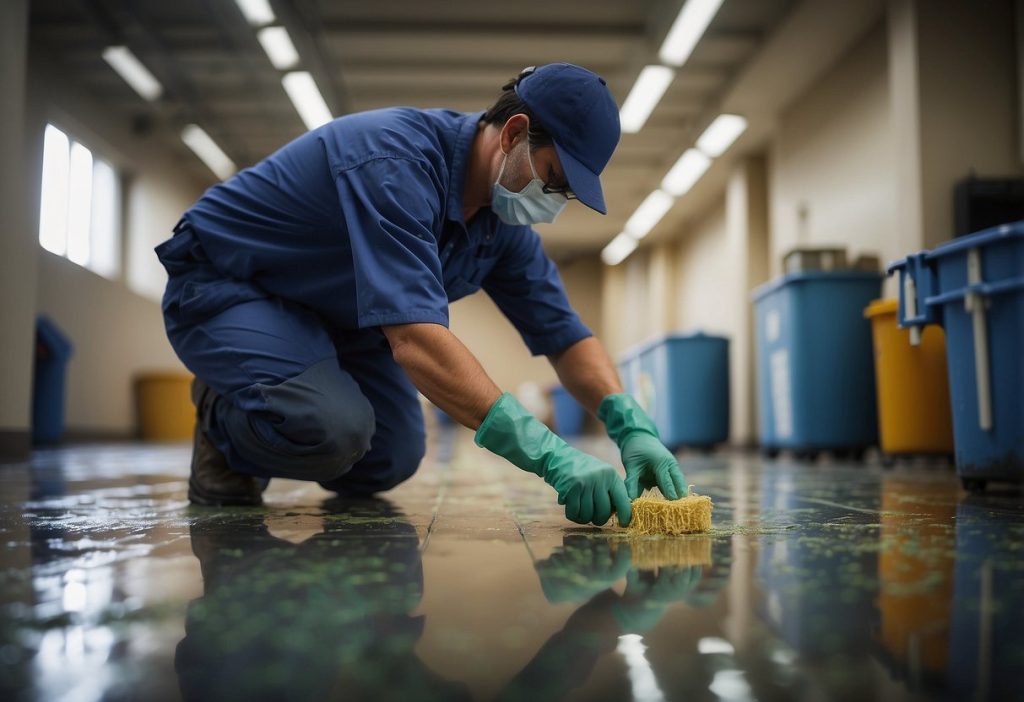
Stripping and Cleaning the Floor
Begin by clearing the floor of any furniture, mats, or debris. It’s like preparing a canvas for painting; you want a completely bare surface. Protect the surrounding areas with plastic sheeting to prevent any splashes of the stripping solution harming nearby surfaces.
Steps for Stripping the Floor
- Prepare Your Exit: Set up a spot where you can remove your gear without wandering into cleaned areas.
- Dust Mop/Vacuum: Remove loose dirt – this is critical for avoiding scratches during scrubbing.
- Get Your Supplies: Make sure you have your stripper solution, neutralizer, clean mops, and protective gear ready.
Now, make sure the stripper won’t harm your tiles by doing a patch test in a hidden spot. Once you confirm its safety, it’s time to apply the stripper. Mix it according to the manufacturer’s guidelines and apply generously, ensuring you don’t let it dry.
Safety Tip: Always wear gloves and goggles to protect yourself from chemicals.
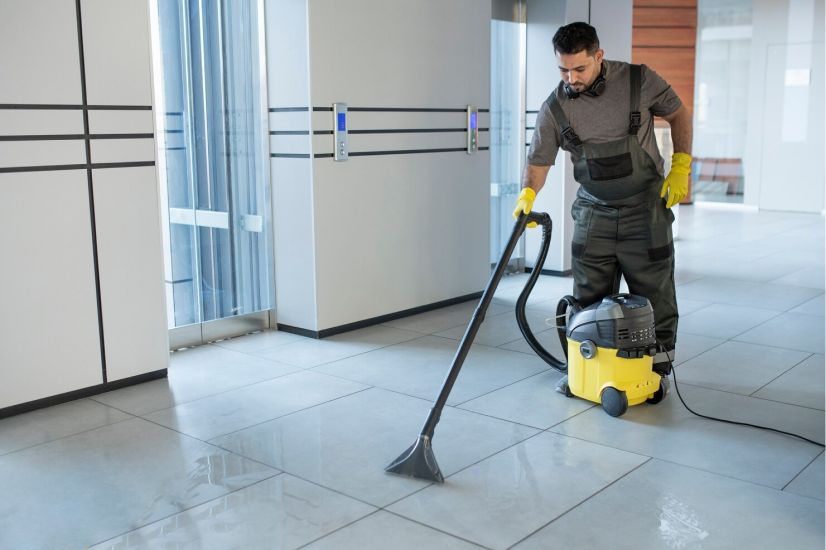
Using a floor machine with a stripping pad, scrub the floor in sections. Picture erasing old marks off a whiteboard; you need to scrub thoroughly to remove all traces of the old wax. After scrubbing, remove the solution promptly with a wet vacuum.
Rinse Wisely
- Rinse with clean water.
- Use a neutralizing solution to tackle any lingering residue.
- Allow the floor to dry completely, undisturbed, before moving on to the next phase.
Remember, the key is to work methodically and maintain safety throughout the process. By being diligent during the stripping phase, you’re setting the foundation for a brilliant finish once you wax.
Waxing and Finishing
After prepping your tile floors, it’s time to bring on the shine with waxing. Get your hands on a high-grade commercial floor wax suitable for your tile type. Reading the product label is not a step you want to skip—it’s the cheat sheet for a flawless finish.
Apply with Precision
Start the waxing adventure by applying a thin and consistent coat. Imagine you’re an artist; your mop is the brush, the floor’s your canvas. Cover every inch methodically. It’s tempting to slap on a thick layer, but trust me, thin is in. Then comes the patience part—let each coat dry fully. This could take about 30 minutes, but hey, good things come to those who wait.
Drying for Durability
Aim for about 3-5 coats for the ultimate armor against wear and tear, with a full drying session in between each coat. Your diligence here is what leads to a smoother, tougher, and shinier floor. And then, the grand finale: let your final coat cure for 12-24 hours, no shortcuts. You wouldn’t rush a fine wine, so give your floor the time it deserves to mature.
Buff to Brilliance
Last step is the buffing—transform the floor from flat to fabulous with a high-speed buffer. Watching your floor transition to a glorious gloss is nothing short of satisfying. Maintain this grandeur with regular cleaning and periodic touch-ups with the buffer. Your tile floors will thank you with years of gleaming service.
Maintenance Tips
Keeping your commercial tile floors in top condition is simpler than you might think. With just a bit of elbow grease and the right approach, you can maintain that fresh, professional look between waxing sessions. Let’s dive into your daily and weekly maintenance playbook.
Daily Checklist
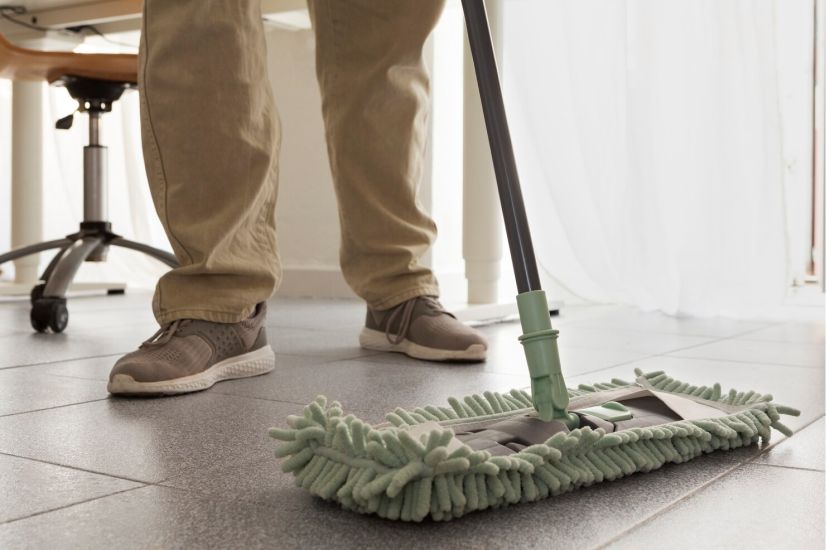
- Sweep or Vacuum: Grab a soft-bristle broom or a vacuum to whisk away dirt and dust each day. Think of it as daily damage control for your tiles.
- Spill Response: Act fast with a damp mop or cloth to tackle spills. It’s your best defense against stains and slips.
- Mat Placement: Utilize walk-off mats at entry points. They’re like goalkeepers, catching grime before it hits your pristine tiles.
Regular Routines
- Routine Mop: Give your floors a weekly once-over with a damp mop and pH-neutral cleaner. It’s like a mini detox for your tiles.
- Grout Care: Attack those grout lines with a brush and cleaner periodically. It’s the difference between “meh” and magnificent floors.
- Grout Sealing: Every six months to a year, seal those grout lines. Consider it armor against the daily onslaught of dirt.
Polishing Touches:
- Buff or Burnish: Want a lustrous sheen? A buffer and polishing pad can make your tiles twinkle like new.
Pro Tips:
- Cleaning Solutions: Choose your cleaners wisely. The wrong type can do more harm than good.
- Tile TLC: Keep an eye on your tiles. Promptly repair or replace any that are showing their battle scars.
- Skills Matter: Your cleaning crew needs to know their stuff. Proper training ensures they’re not just going through the motions.
By nailing down these straightforward habits, you’ll keep those floors dazzling. Remember, consistency is your friend here. A well-cared-for floor doesn’t just reflect well on your business; it can also save you time and money in the long run.
Why Choose Bursey Cleaners for Professional Floor Care
Imagine walking into a space where the tile floors gleam so brightly, they reflect your smile. That’s the level of shine Bursey Cleaners can achieve for your business’s floors in Greater St. Johns. With over 40 years of experience, we take pride in using time-honed skills to transform and protect your valuable floors.
Choosing Bursey Cleaners is like opting for peace of mind—knowing that your commercial tile floors are in the hands of seasoned professionals. Our knack for tailoring solutions to fit your specific floor care needs means your tile will look its best, reflecting well on you and your business.
When your floors need that extra attention, expertly carrying out all manner of tile and grout cleaning to stripping and waxing, you’ll want to go with a team that’s proven their worth time and again. Look into the full range of Bursey’s floor care services and see our expertise can brighten your space.